Chair Yoga For Seniors
Social Links
Unless you’ve been living under a rock, you’ll no doubt have heard about the health benefits of yoga.
Yoga… a spiritual discipline that can have a huge impact on our holistic health. A wide body of research suggests that yoga can bring about improved flexibility and strength, protect against injury and help with energy and breathing. It can even restore the connection between mind and body and prove a catalyst for a happier, healthier life.
Unsurprisingly, yoga has developed a reputation for positivity and empowerment the whole world over. But people who experience limited mobility, inflexibility, or serious injury, may well have dismissed yoga without giving it a try.
Many seniors wrongly assume that yoga isn’t for them – when in fact, they often benefit more from the practice than younger students. Typically, our brain’s hemispheres work more equally as we age, which may mean that seniors can more easily tap into the mind-body link. And while practitioners in their twenties or thirties may rave about improved strength, older students are more likely to fully feel yoga’s transformative effects. After all, yoga can restore proper sleeping patterns, help alleviate pain and improve flexibility and movement, all of which benefit older people.
As the great Indian teacher T.K.V. Desikachar once wrote, “Anybody can breathe. Therefore anybody can practice yoga.”
What is Chair Yoga?
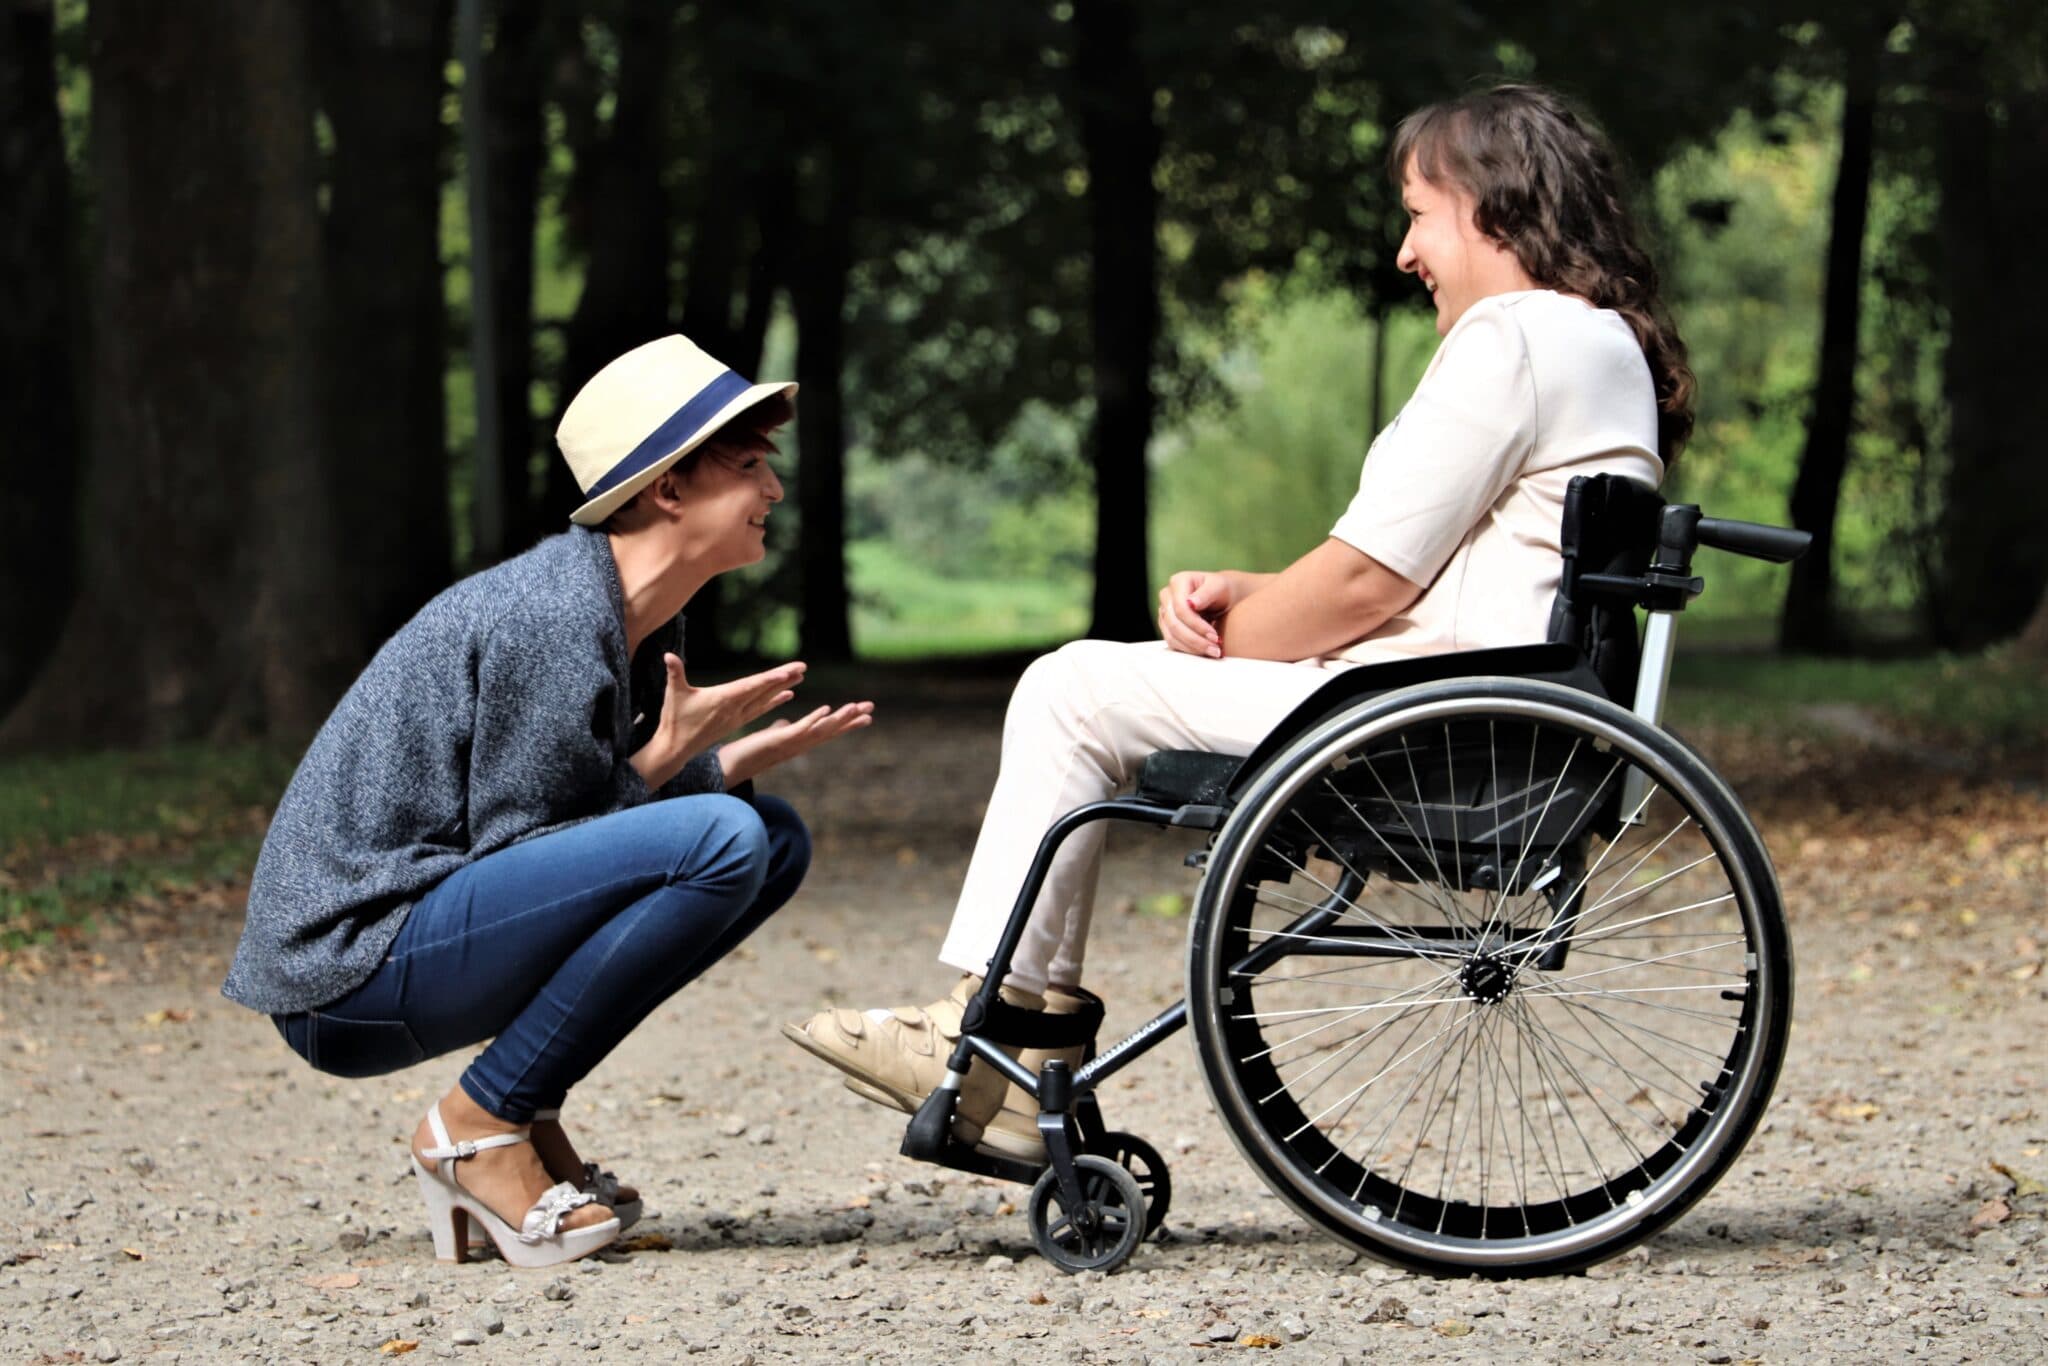
While some seniors will discover they can practice yoga without limitations, many may find the physical requirements of conventional yoga daunting or downright impossible. People who suffer from limited mobility or flexibility, struggle with balance or simply want to start out gently without putting too much strain on the body may prefer to try chair yoga.
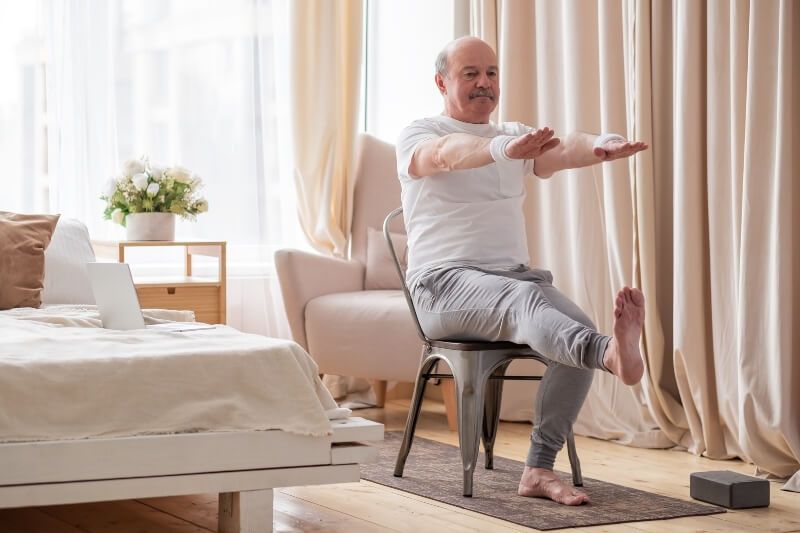
But what exactly is chair yoga? Really, it’s as simple as it sounds. Chair yoga merely modifies traditional yoga positions so that they can be performed while seated.
Some yoga poses work just as well sitting down – making chair yoga an achievable source of exercise and strength-building for people with reduced mobility.
Most chairs will work fine for chair yoga – although you’ll want to avoid anything unstable. Office chairs on wheels or rickety wooden stools should be avoided; one of The Mobility Furniture Company’s Riser Recliner Chairs, which offer both comfort and support, would be far more suitable.
What Are Chair Yoga’s Benefits?
People who practice chair yoga can expect to enjoy all of the benefits associated with conventional yoga.
These benefits are diverse and wide-reaching, and can profoundly impact aspects of both mental and physical health. It’s little wonder that yoga has thrived, and continues to gain popularity, for the past 5,000 years.
Students often focus primarily on the physical benefits of yoga. First and foremost, yoga boosts strength and flexibility, firms up muscles and helps improve balance.
Yet yoga’s popularity reflects the fact that it benefits the mind and spirit as much as the body. A plethora of studies indicates that yoga can boost mental health by reducing anxiety, taking on stress, improving sleep and helping the brain function better.
As so many of yoga’s benefits combat some of the more negative aspects of ageing, chair yoga’s advantages are especially keenly felt by people who build it into their daily routines.
Chair yoga may, for example, reduce inflammation, ease aches and pains, and improve breathing and posture. It can boost bone health and even the immune system. Ultimately, it can have a powerful effect on your quality of life.
Perhaps you’ve long thought your favourite chair was just for putting your feet up. With chair yoga, it can become your own private gym too!
What Are the Basic Chair Yoga Poses?
When practising chair yoga, you should first make sure that you are sitting in the correct position – with solid support, and the proper posture to benefit from the poses you are trying out.
Sit towards the front of the chair, with your feet on the floor and your backside firmly in the seat. Sit up straight, extending your spine. Once you’re comfortable, place your hands on your waist and breathe in deeply through your nose. Let the breath fill your body, exhale slowly and repeat the process 10 times. Then, start out by trying the following poses:
1. Seated Raised Hands – – Urdhva Hastasana
Place your arms by your side.
As you inhale, raise your arms up towards the ceiling.
Maintain strong body posture as you extend your arms. You should feel the upper body stretching, and tension being released from the ribcage and shoulders.
As you exhale, bring your arms back to your side.
2. Seated Forward Bend –– Uttanasana
As you exhale, fold your body forward, so your chest is resting on your thighs.
Let your head and neck hang limp, and place your palms on the floor if they reach.
As you inhale, straighten your upper body and raise your arms over your head.
Repeat this cycle five to 10 times, letting the breath direct your movements.
3. Eagle Arms –– Garudasana Arms
As you exhale, bring your arms in front of you – crossing them so your right elbow is directly underneath your left.
Place each hand on the opposite shoulder, so you are giving yourself a hug.
If you can, take your hands off your shoulders and wrap your forearms around each other, so that the fingers of your right hand are resting in the palm of your left hand.
As you inhale, lift your elbows a little. And as you exhale, roll your shoulders downwards.
Repeat the motion five to 10 times. This should help relax your shoulders and upper back.
4. Cat-Cow Stretch
Place your hands on your knees. As you inhale, arch your back and look up to the ceiling. Pull your abdominals in and let your shoulders roll backwards. This is called Cow Position.
As you exhale, let your back become rounder – resting your chin on your chest and pushing your shoulders and head forward. This is called Cat Position.
Cycle between Cat Position and Cow Position five to 10 times as you inhale and exhale.
5. Chair Pigeon –– Eka Pada Rajakapotasana
Lift your right ankle and place it upon your left knee – much as you would if you were sitting cross-legged.
Try to keep your right knee as aligned to your right ankle as possible – and if you can, bend your upper body forward to intensify the stretch.
Hold the position for five breaths, then repeat the same stretch with your left ankle on your right knee.
6. Chair Savasana
You should end your chair yoga sessions with a short Savasana – a relaxation or meditation that will help body and mind soak up all the positive impacts of your session.
Sit up straight with your eyes closed and your shoulders back, breathing in through your nose and then slowly breathing out.
These six poses are a great introduction to chair yoga for seniors. – once you’ve mastered them, you can begin to modify the poses and try out more advanced chair yoga positions.
We’re confident that chair yoga can help boost your physical and mental health – and bring benefits you hadn’t even considered.
So, what are you waiting for? As long as you’re sitting comfortably, why not give chair yoga a try today?
*This website contains general medical information. The medical information is not advice and should not be treated as such. Read our full Medical Disclaimer here.


